摘要
本文概要介紹一個使用FreeRTOS之軟體計時器來操縱GPIO所連接之發光二極體的範例。
本文
FreeRTOS的介紹可以參考這裡。隨後將於STMicroelectronics的SPC5Studio整合開發環境來建立專案與應用程式,使用FreeRTOS之軟體計時器來操縱GPIO連接之發光二極體,並將建構完畢的應用程式燒錄至SPC582B-DIS開發板來進行驗證。
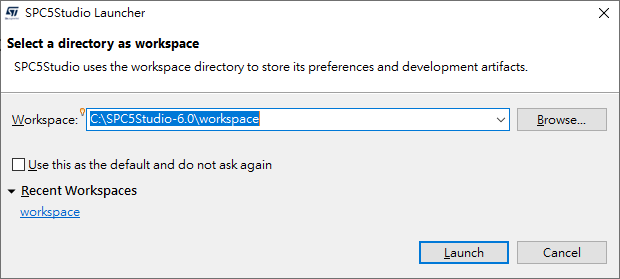
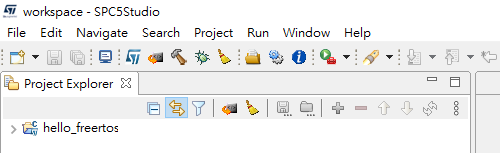
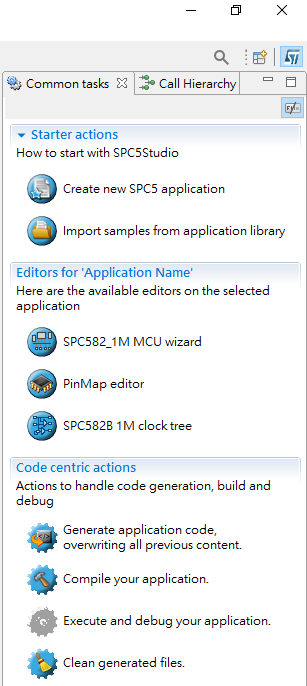
步驟1,使用預設的工作區載入SPC5Studio。
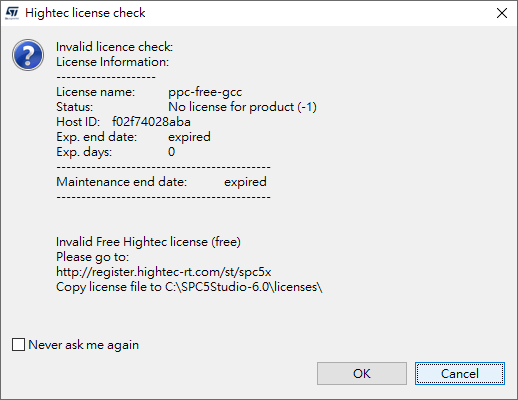
步驟2,忽略許可證檢查。
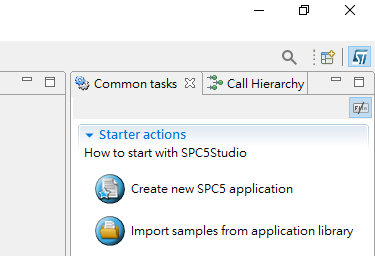
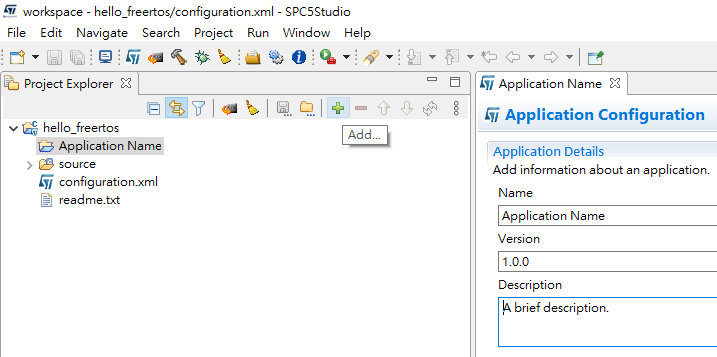
步驟3,新建一個應用程式。
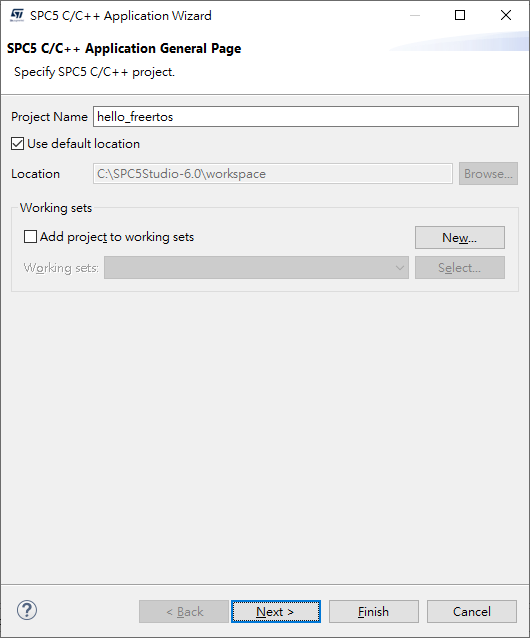
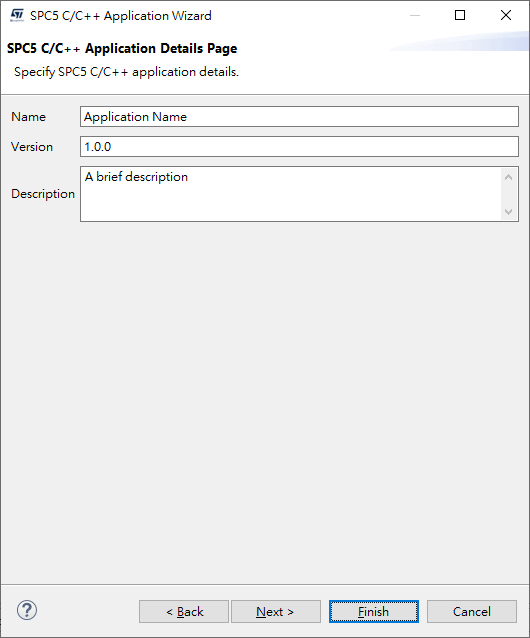
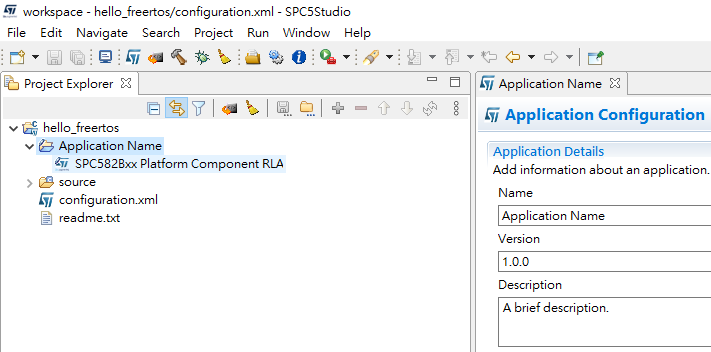
步驟4,指定專案名稱。
步驟5,確認專案細節描述。
步驟6,確認預設的專案狀態。
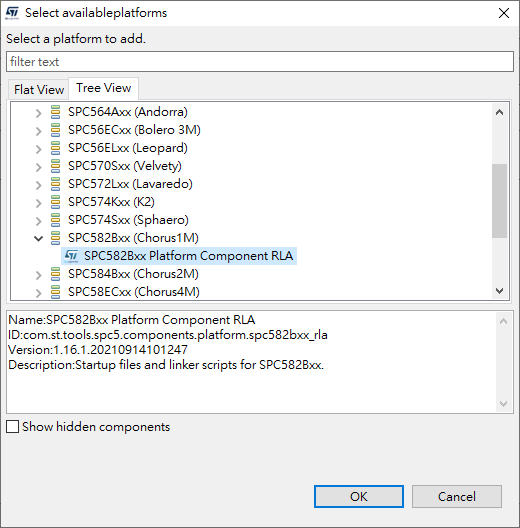
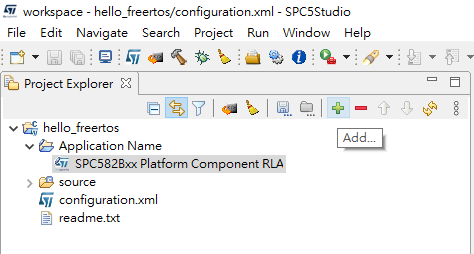
步驟7,添加平台零組件(platform component)。
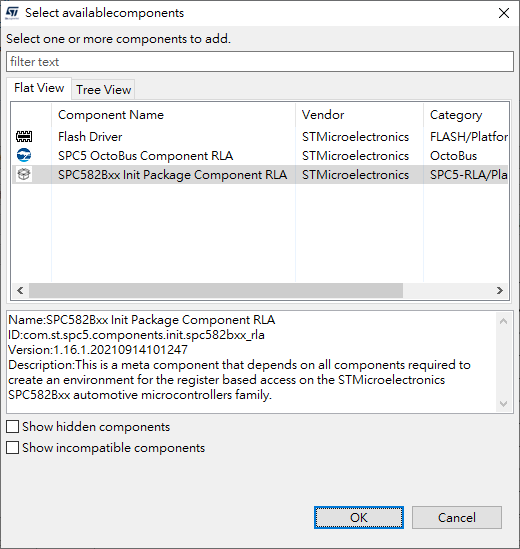
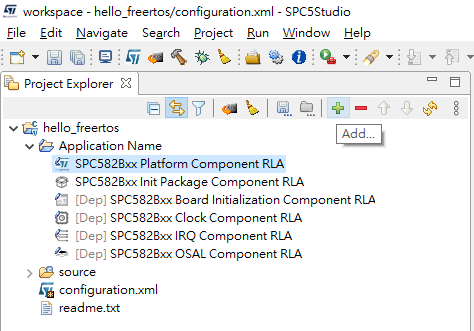
步驟8,添加初始化零組件(init package component)。
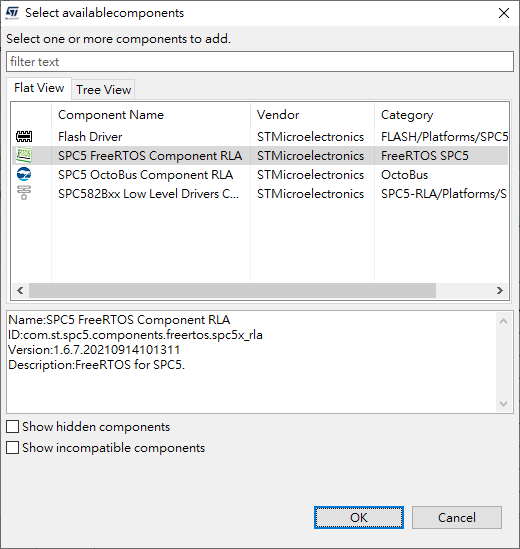
步驟9,添加FreeRTOS零組件(FreeRTOS component)。
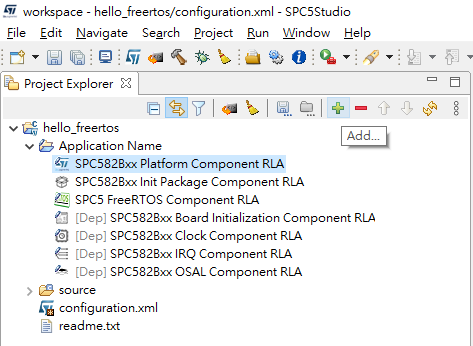
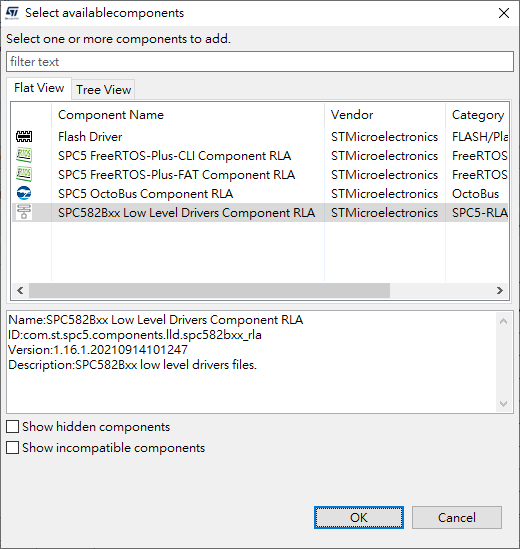
步驟10,添加低階驅動程式零組件(low level drivers component)。
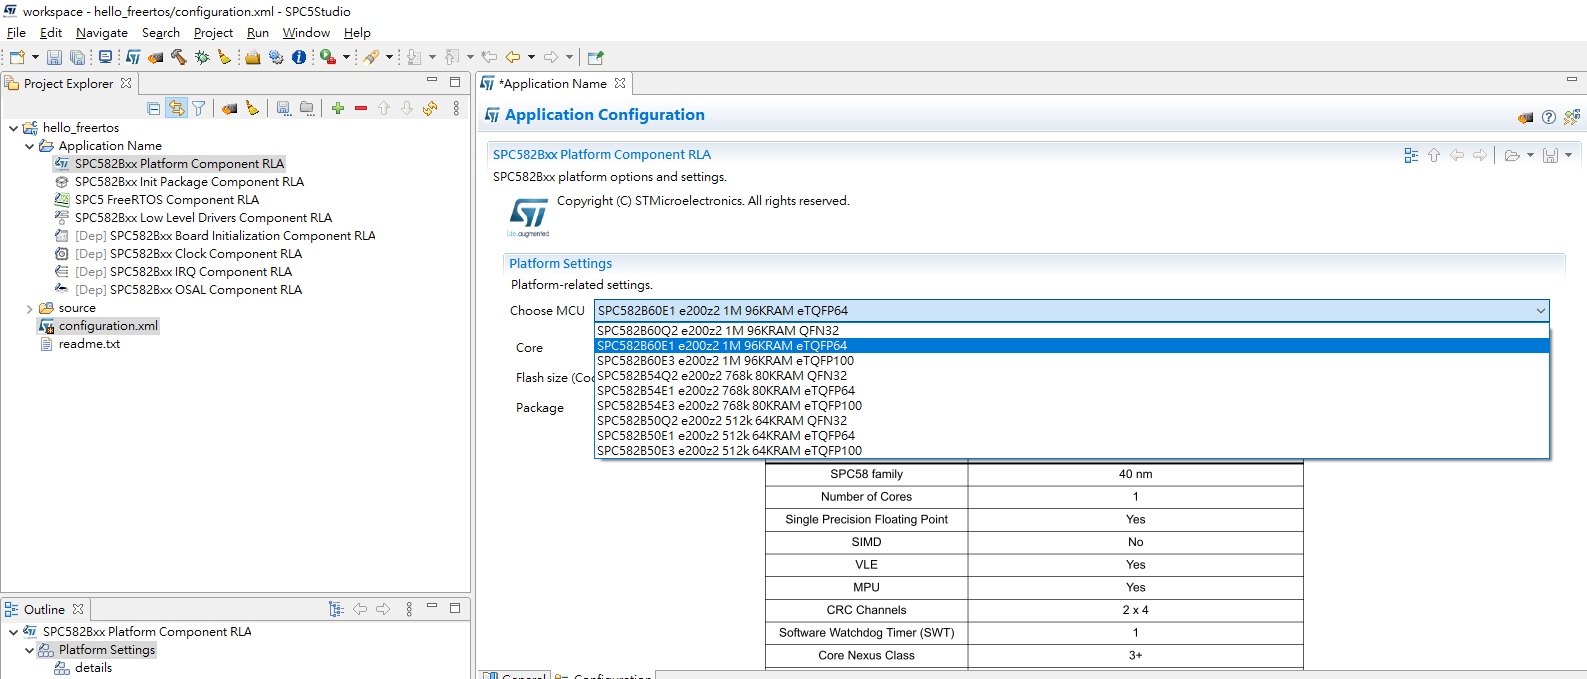
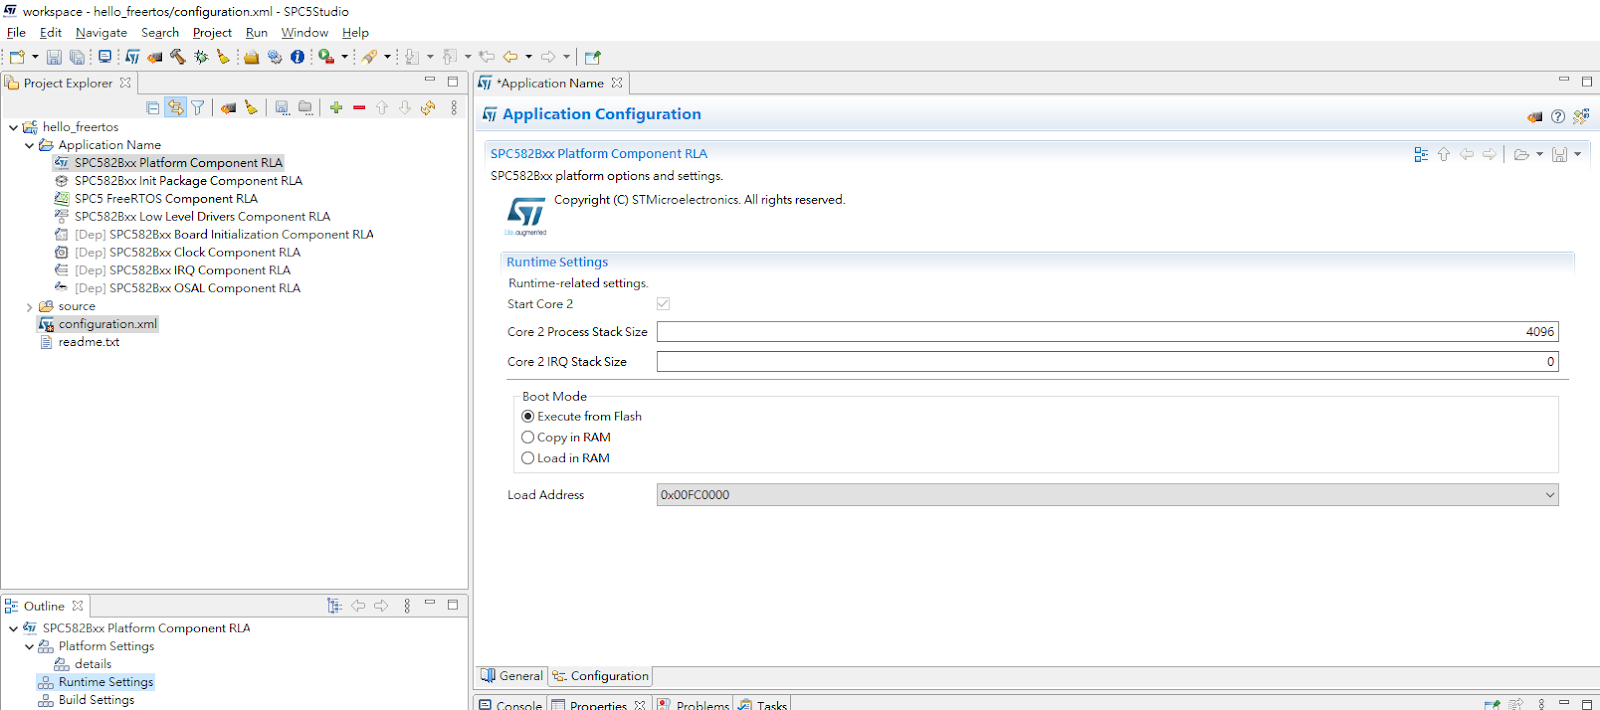
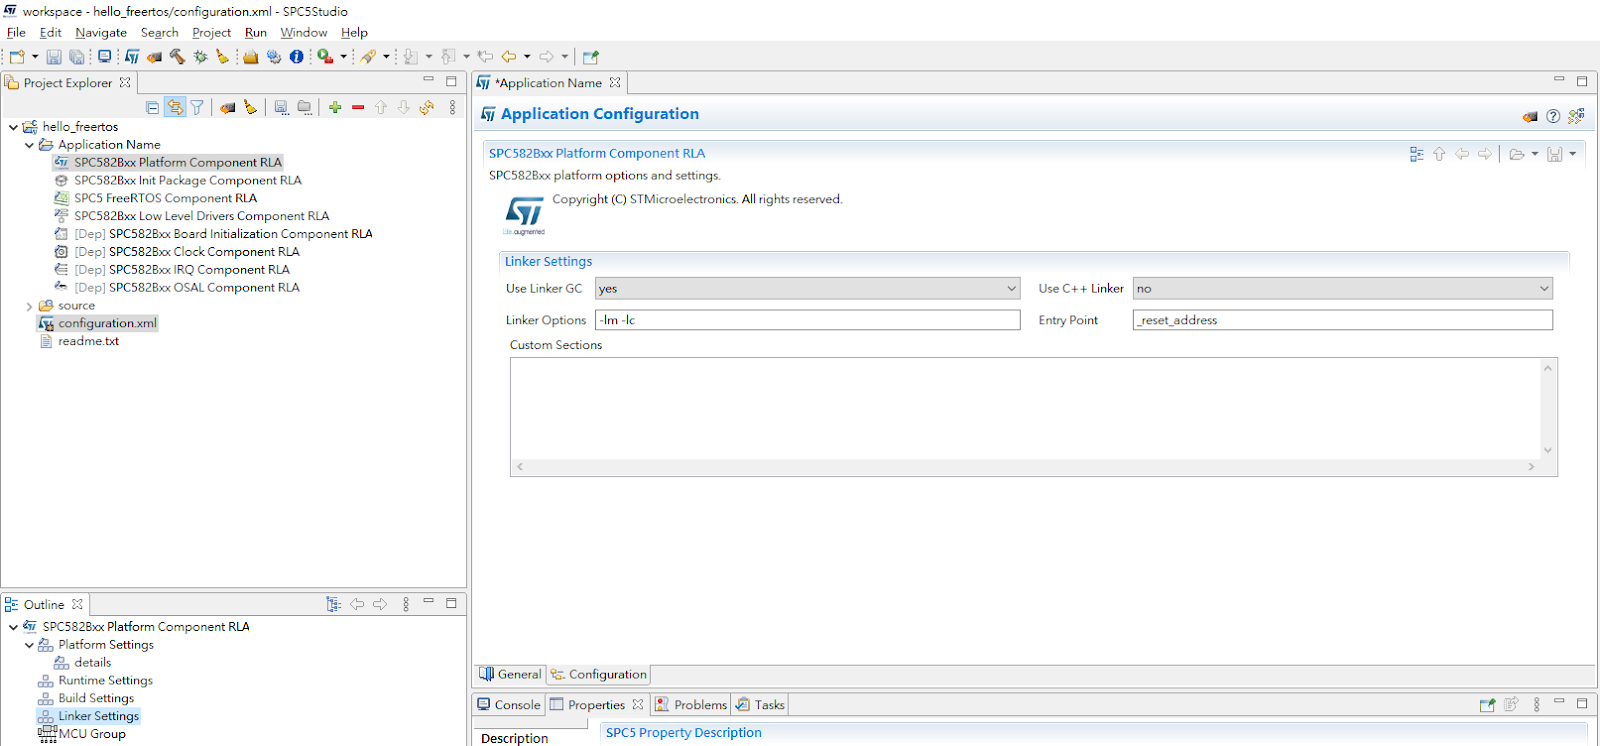
步驟11,確認平台零組件(platform component)的設定;皆使用預設值。

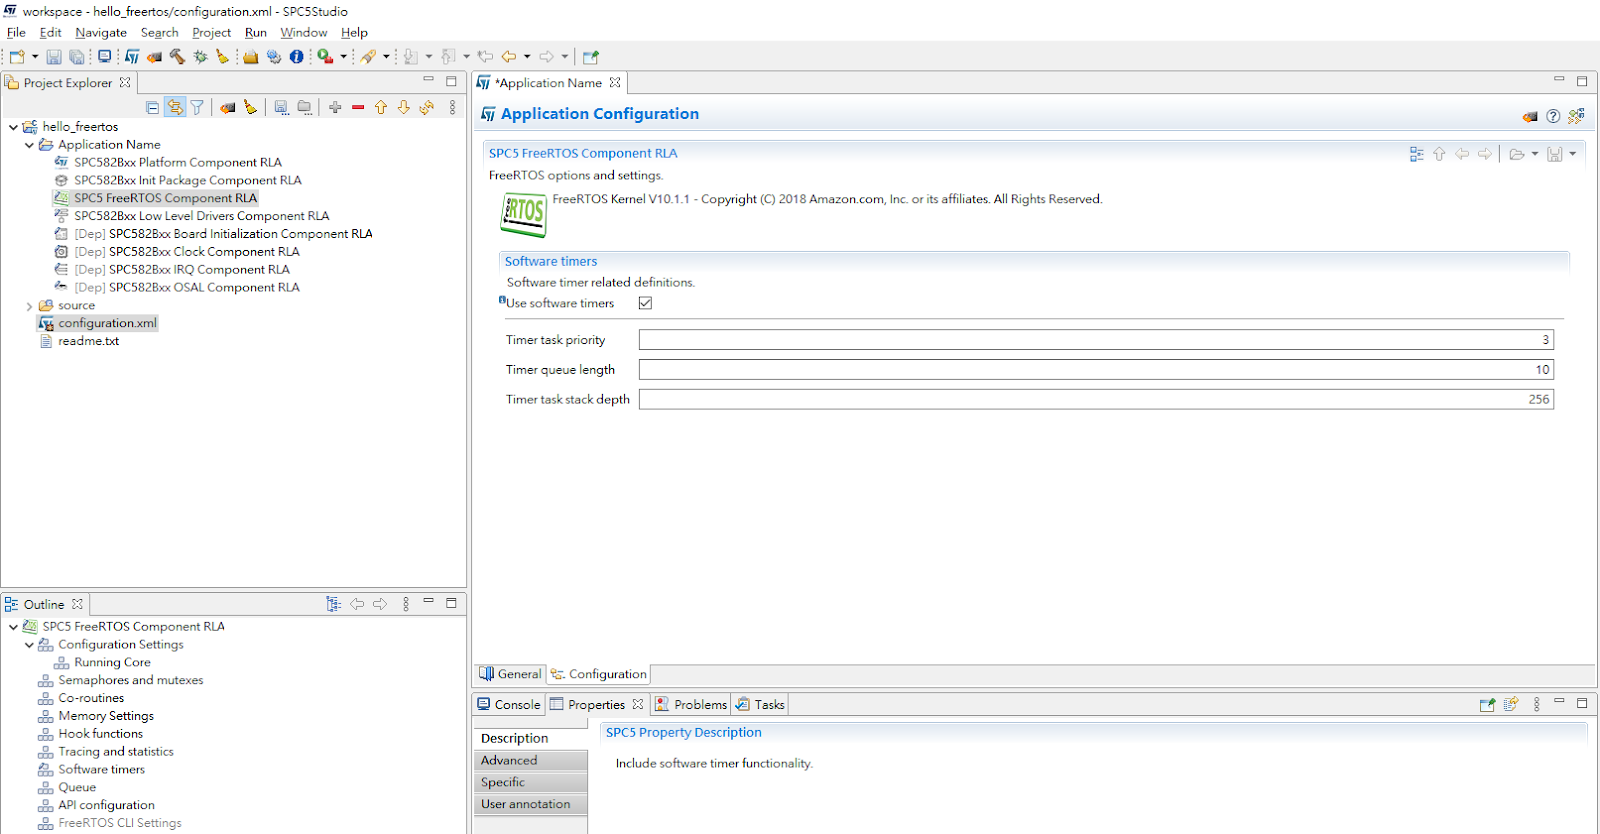
步驟12,於FreeRTOS零組件(FreeRTOS component)指定使用軟體計時器。
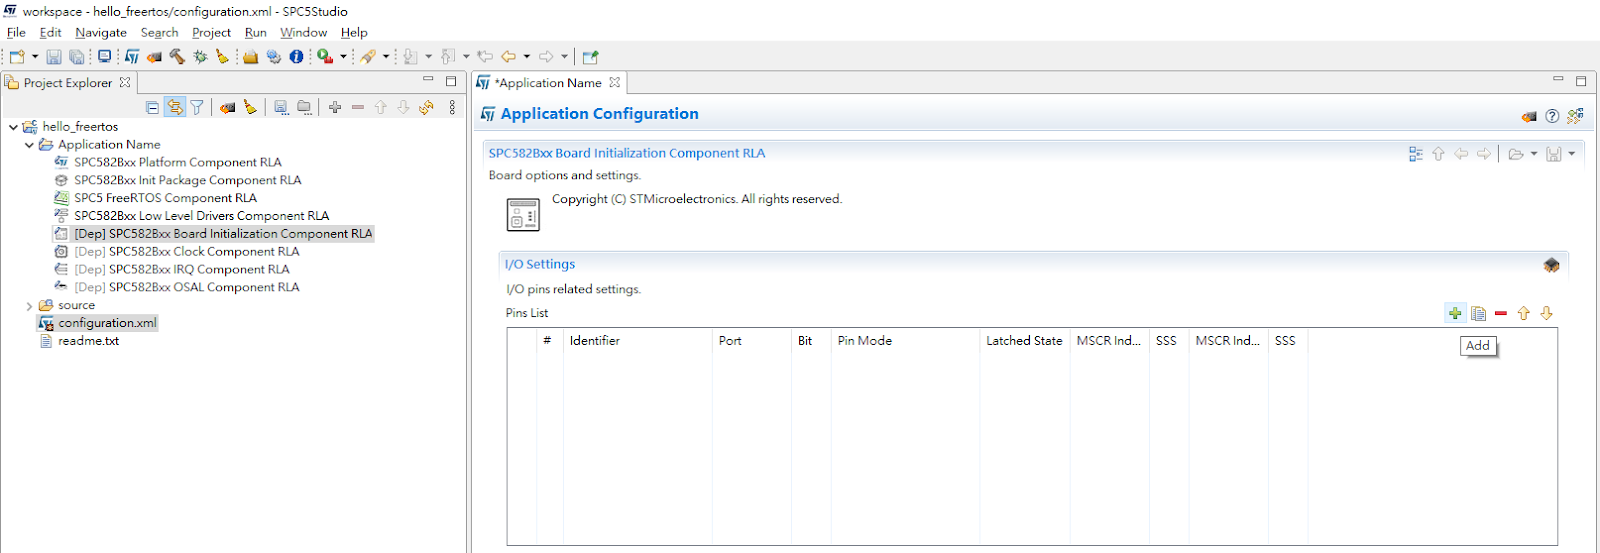
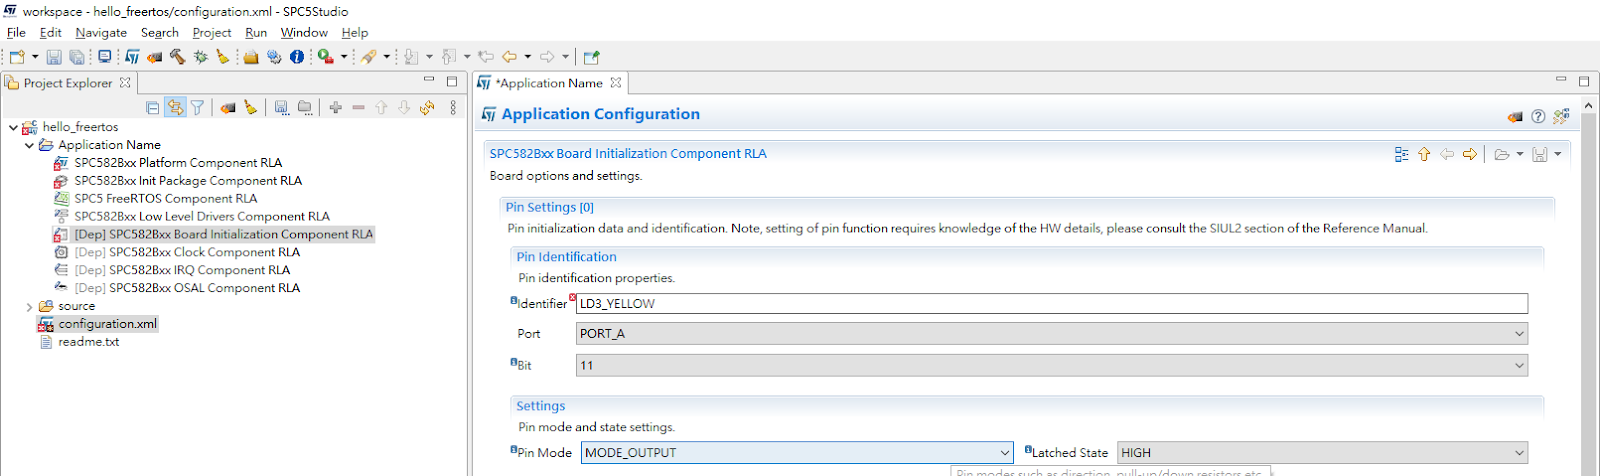
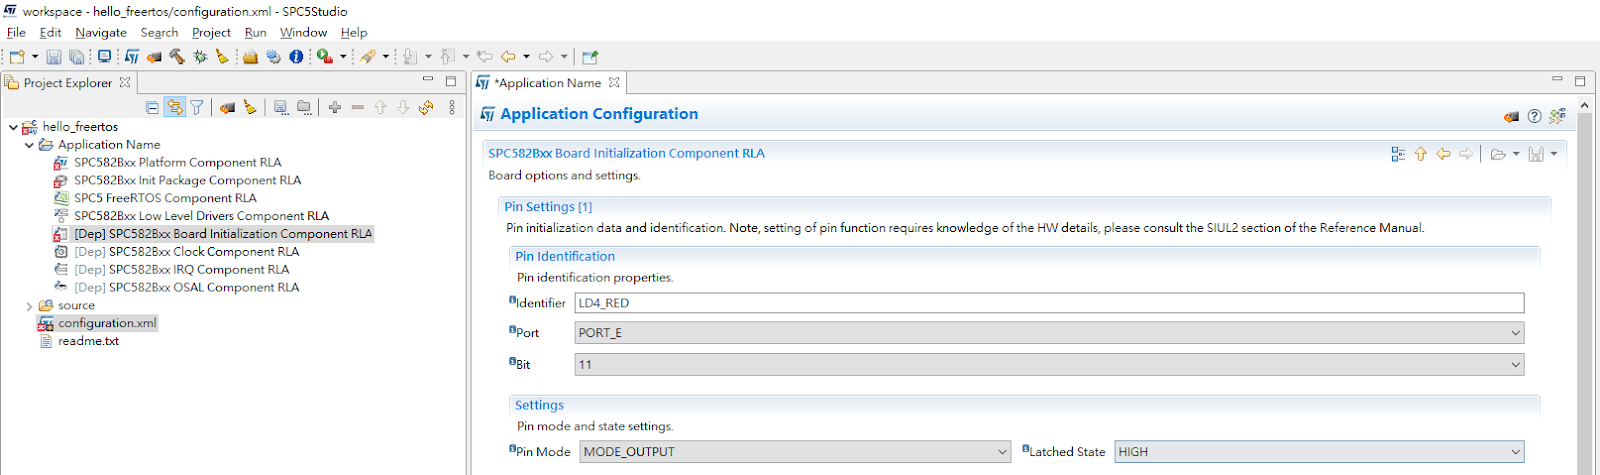
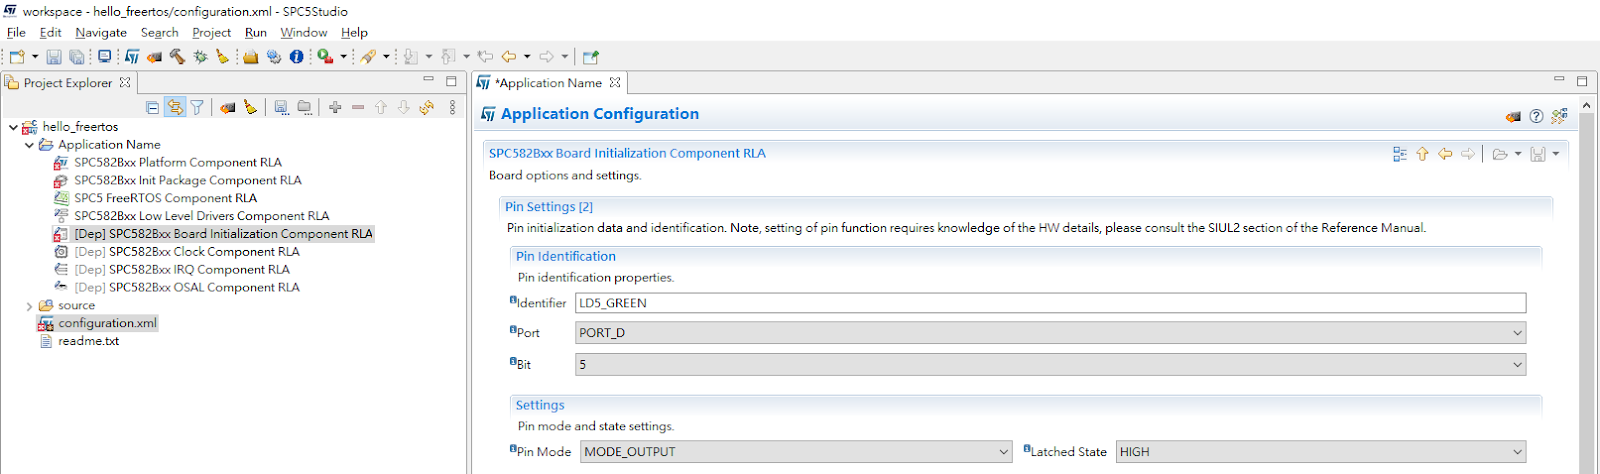
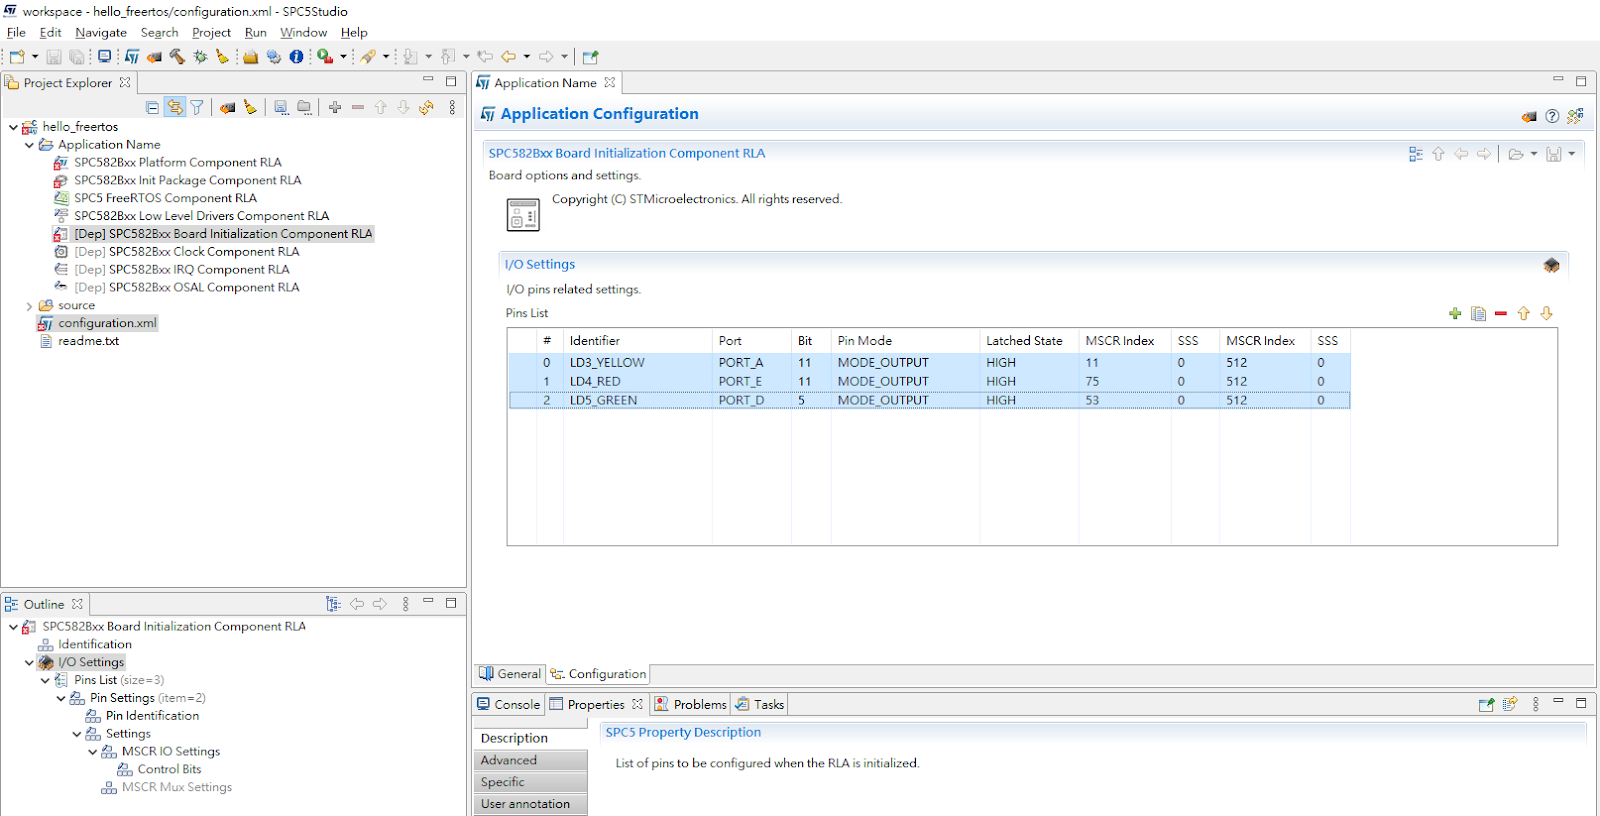
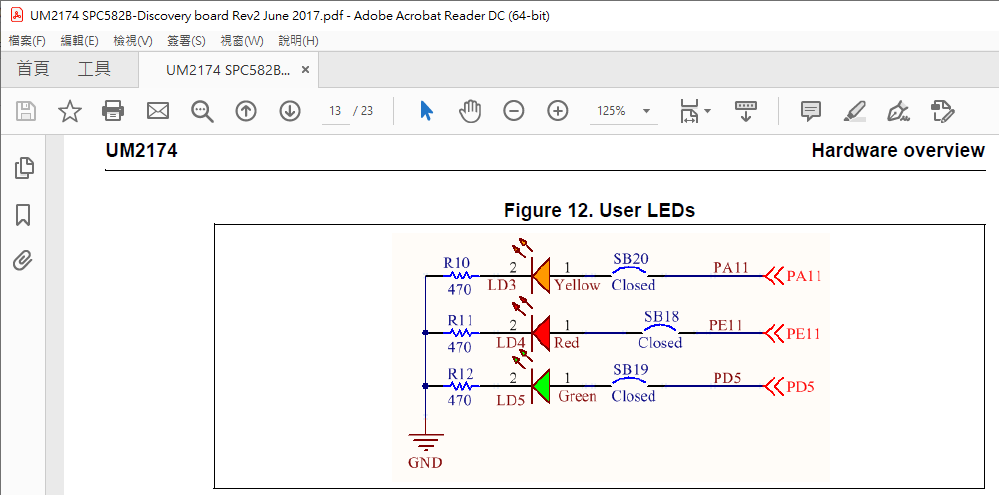
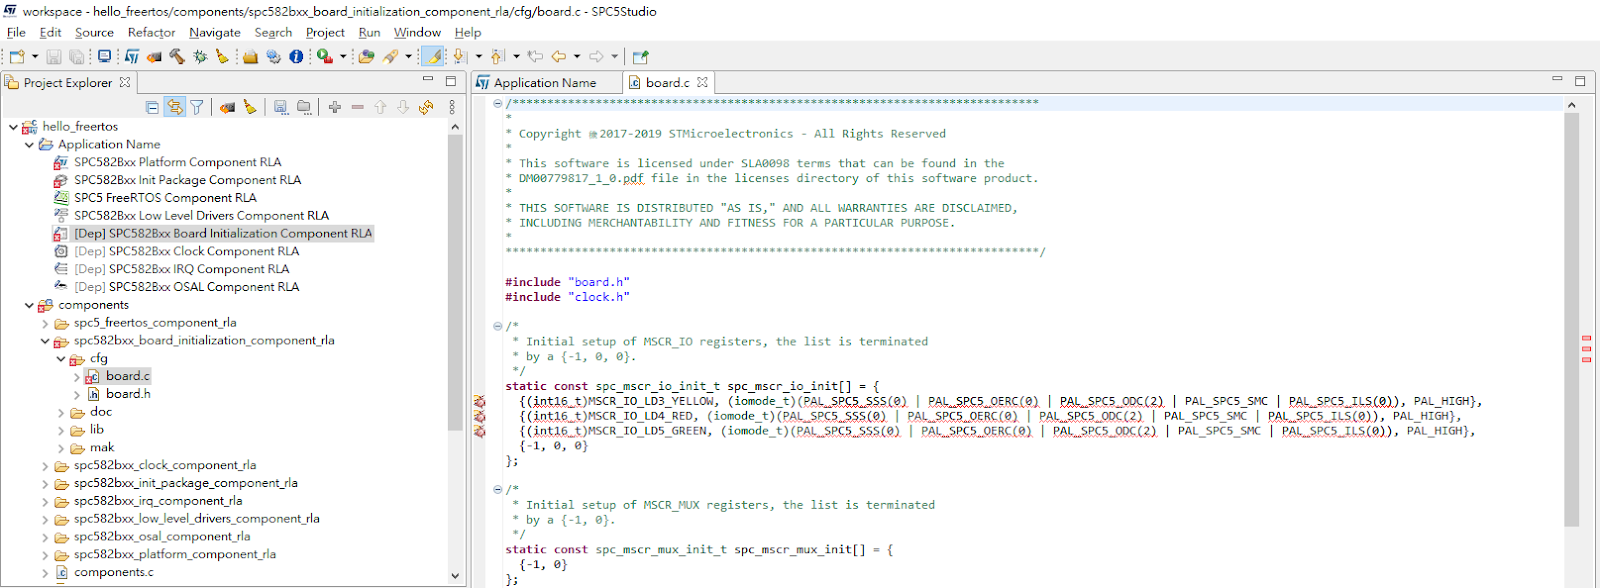
步驟13,因應SPC582B-DIS開發板來設定連接發光二極體的3根GPIO。
步驟14,產生(generate)應用程式程式碼。
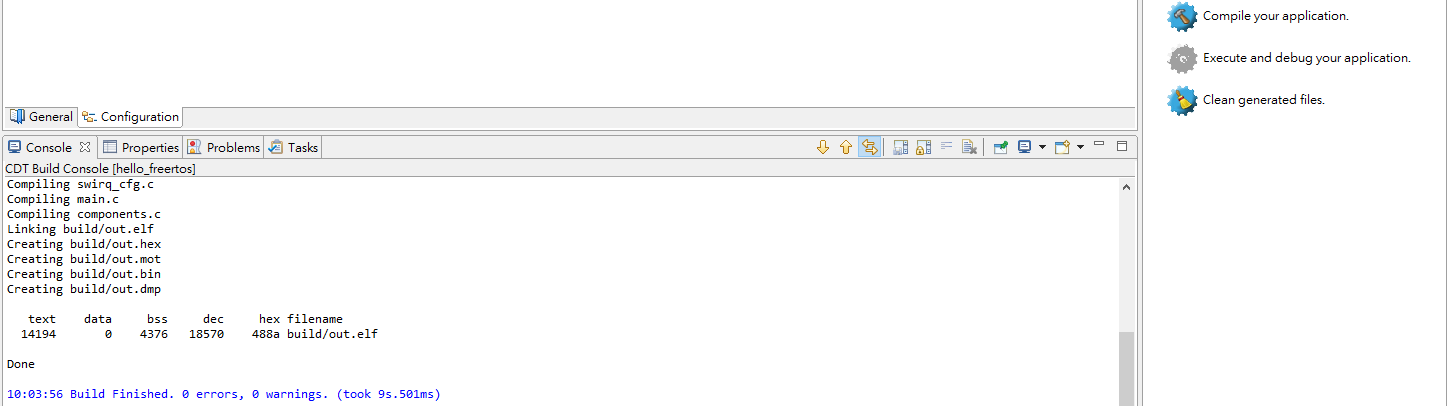
步驟15,編譯應用程式。
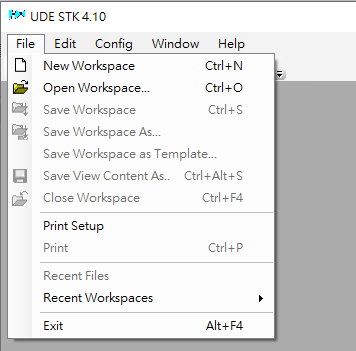
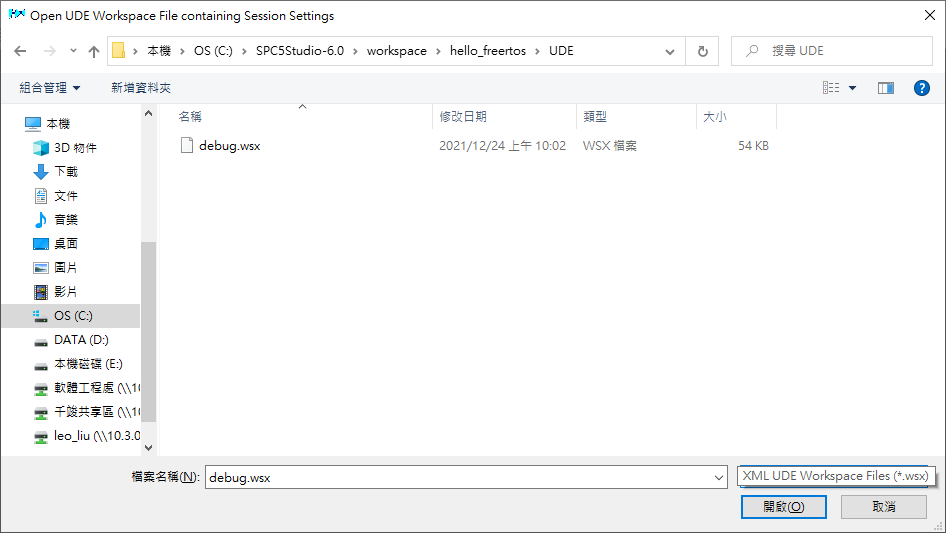
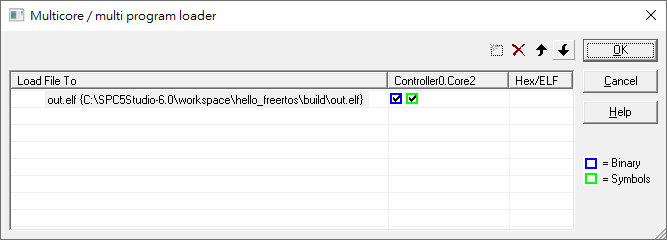
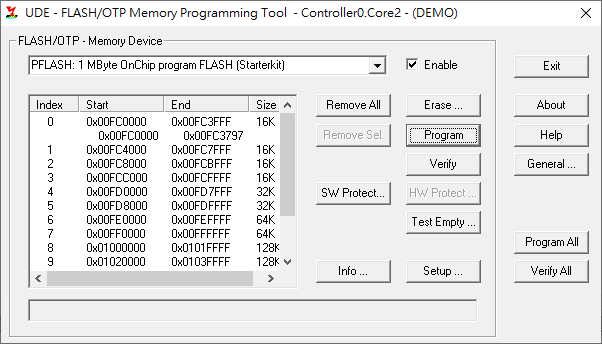
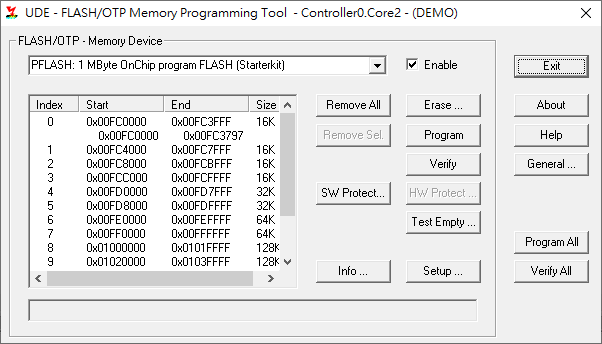
步驟16,開啟UDE STK以便燒錄編譯完畢的應用程式。


步驟17,確認3枚發光二極體已經點亮。
略過。
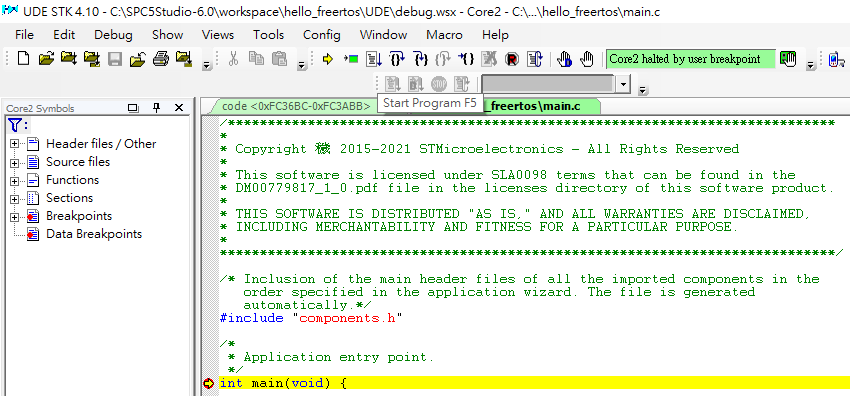
步驟18,參考這裡修改原始碼。
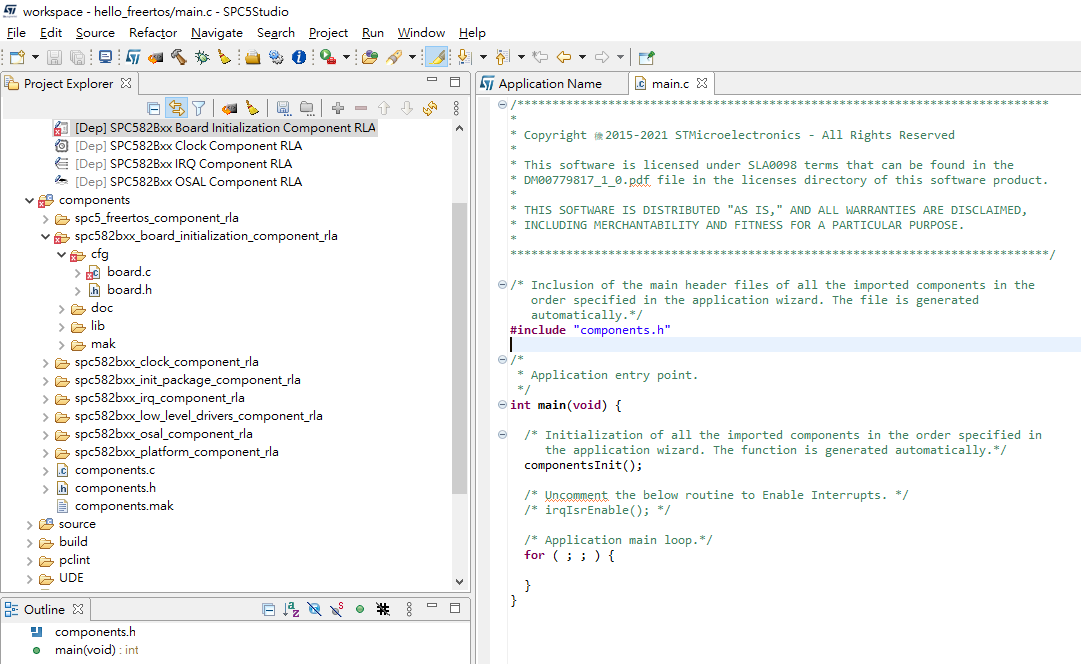

藍字代表添加。
紅字代表移除。
#include "components.h" #include "FreeRTOS.h" #include "timers.h"
void prvOneShotTimerCallback(TimerHandle_t pxTimer) { pal_lld_togglepad(PORT_LD4_RED, LD4_RED); }
void prvAutoReloadTimerCallback(TimerHandle_t pxTimer) { pal_lld_togglepad(PORT_LD3_YELLOW, LD3_YELLOW); }
int main(void) { componentsInit(); TimerHandle_t xOneShotTimer = xTimerCreate( /* Text name for the software timer - not used by FreeRTOS. */ "OneShot", /* The software timer's period in ticks. */ 1, /* Setting uxAutoRealod to pdFALSE creates a one-shot software timer. */ pdFALSE, /* This example does not use the timer id. */ 0, /* The callback function to be used by the software timer being created. */ prvOneShotTimerCallback ); TimerHandle_t xAutoReloadTimer = xTimerCreate( /* Text name for the software timer - not used by FreeRTOS. */ "AutoReload", /* The software timer's period in ticks. */ 500, /* Setting uxAutoRealod to pdTRUE creates an auto-reload timer. */ pdTRUE, /* This example does not use the timer id. */ 0, /* The callback function to be used by the software timer being created. */ prvAutoReloadTimerCallback ); BaseType_t xTimer1Started = xTimerStart( xOneShotTimer, 0 ); BaseType_t xTimer2Started = xTimerStart( xAutoReloadTimer, 0 );
/* Start the FreeRTOS scheduler */ vTaskStartScheduler();
/* Application main loop.*/ /*for ( ; ; ) {
}*/ } |
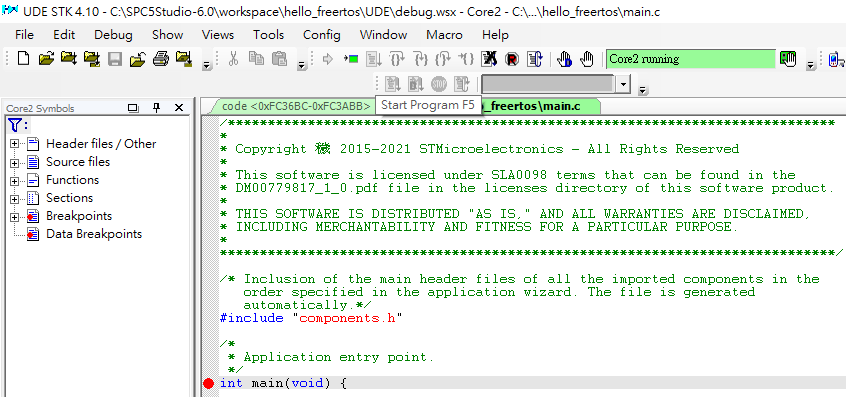
接著,再次編譯及燒錄應用程式。
步驟19,確認SPC582B-DIS開發板上綠色發光二極點已點亮、紅色發光二極體已熄滅、而黃色發光二極體不斷閃爍。
完成。
參考文獻
https://www.st.com/en/automotive-microcontrollers/spc582b60e1.html
https://www.st.com/en/evaluation-tools/spc582b-dis.html
https://www.st.com/content/ccc/resource/technical/document/user_manual/group0/bd/be/9b/d2/fa/e2/4d/b9/DM00365816/files/DM00365816.pdf/jcr:content/translations/en.DM00365816.pdf
https://www.st.com/en/development-tools/spc5-studio.html
https://www.cnblogs.com/FutureHardware/p/14240502.html
沒有留言:
不接受新意見。